I first blogged about my Argus C3 last month. The first roll of film I ran through it left me feeling kinda “meh” about the results. It was a roll of color film I developed at home. At the time, developing color film was pretty new to me, so that might explain the lackluster negatives I produced. But I am kinda partial to this camera and decided to give it another try.
More than two million copies of this camera were produced in Ann Arbor, MI from the late ’30s through the ’60s. Because they’re so plentiful, they’re easy to find and super cheap when you do. I paid $40 for mine which I found on Facebook Marketplace. Because of its weight and shape, it’s been nicknamed “The Brick.” That’s an appropriate name, but I’m still quite taken with its goth, steam-punk vibe.
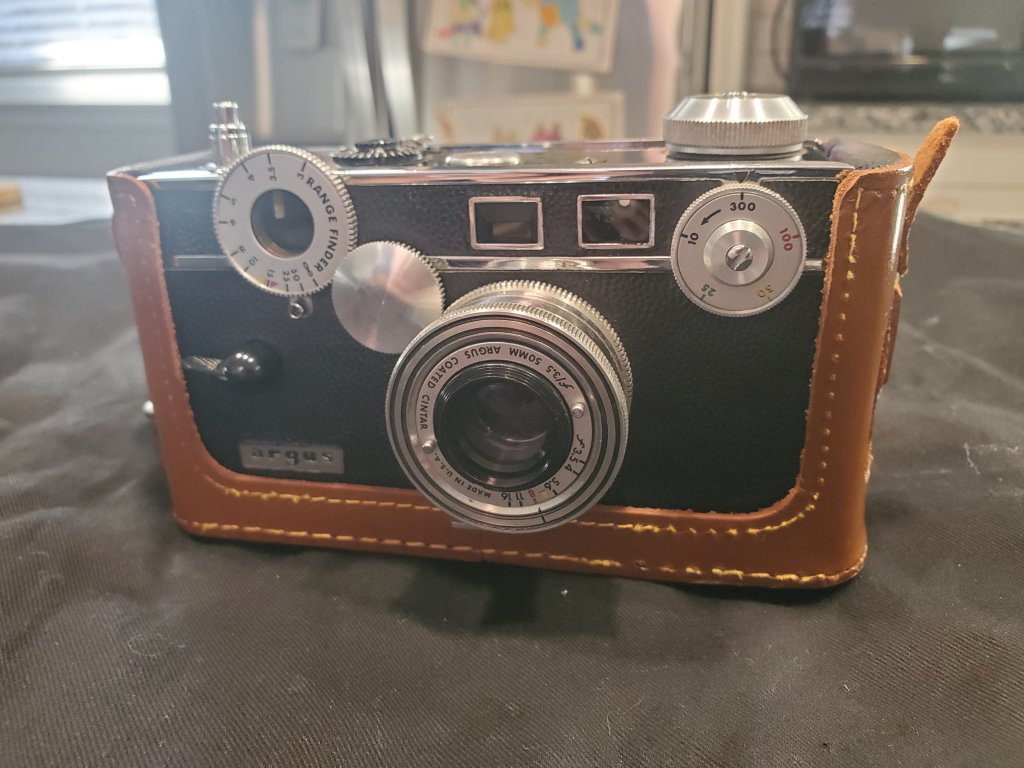
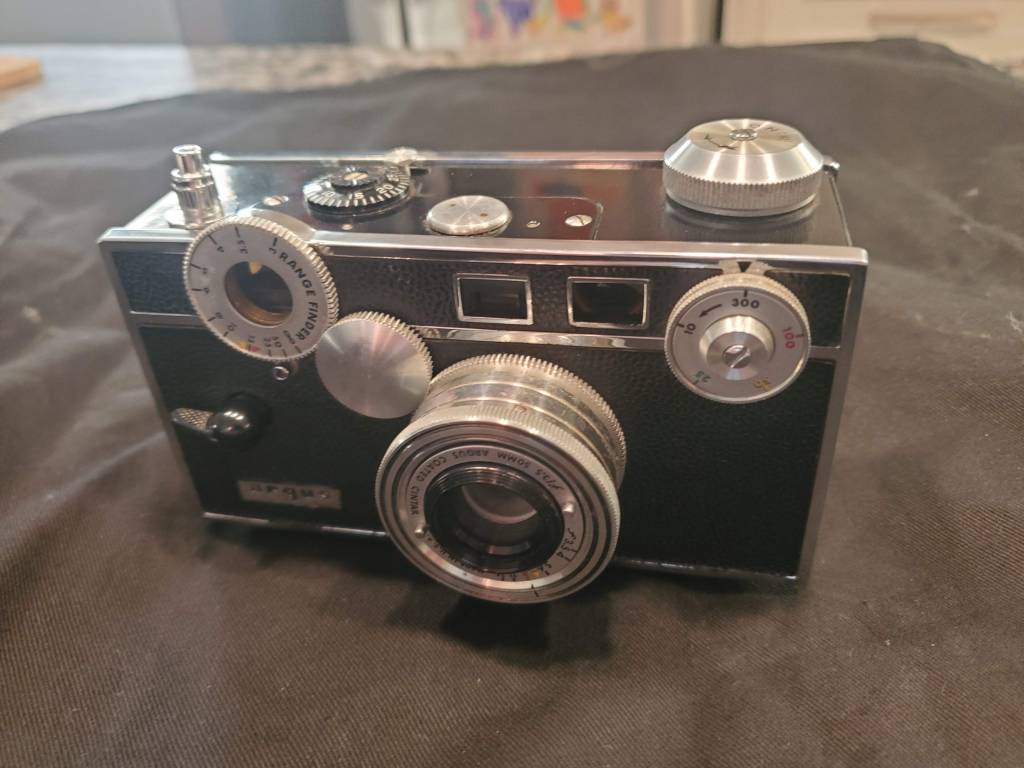
It uses 35mm film. It has a coupled rangfinder for focus. One viewfinder is used to obtain focus while a different viewfinder is used to compose the shot. As with most cameras of its era, everything about it is mechanical. No batteries, no electronics. There’s no on-board light meter. The shutter must be cocked before hitting the shutter button. Film advance and rewind are both handled with independent knobs. It’s equipped with a fixed Argus Cintar 50mm lens with f-stops of f/3.5 to f/16. The fastest shutter speed is 1/300. This relatively “slow” shutter speed can limit the camera’s usefulness when shooting outside in bright sunlight, especially with fast film.
I’m still quite taken with its goth, steam-punk vibe.
A quirk of this camera is that film feeds right to left, instead of left to right like nearly all other cameras.
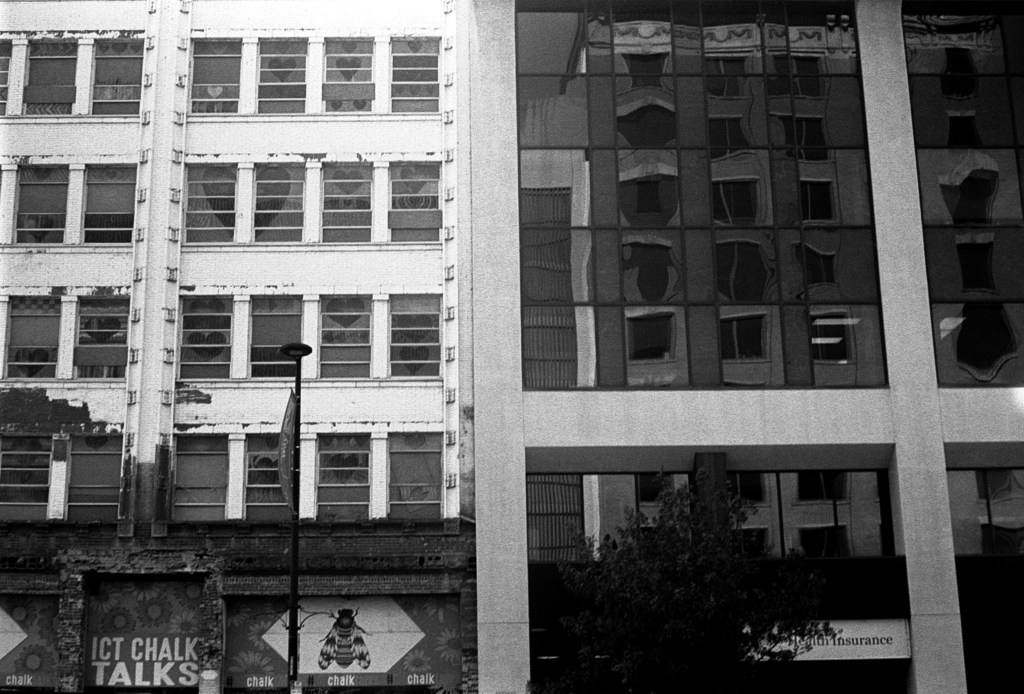
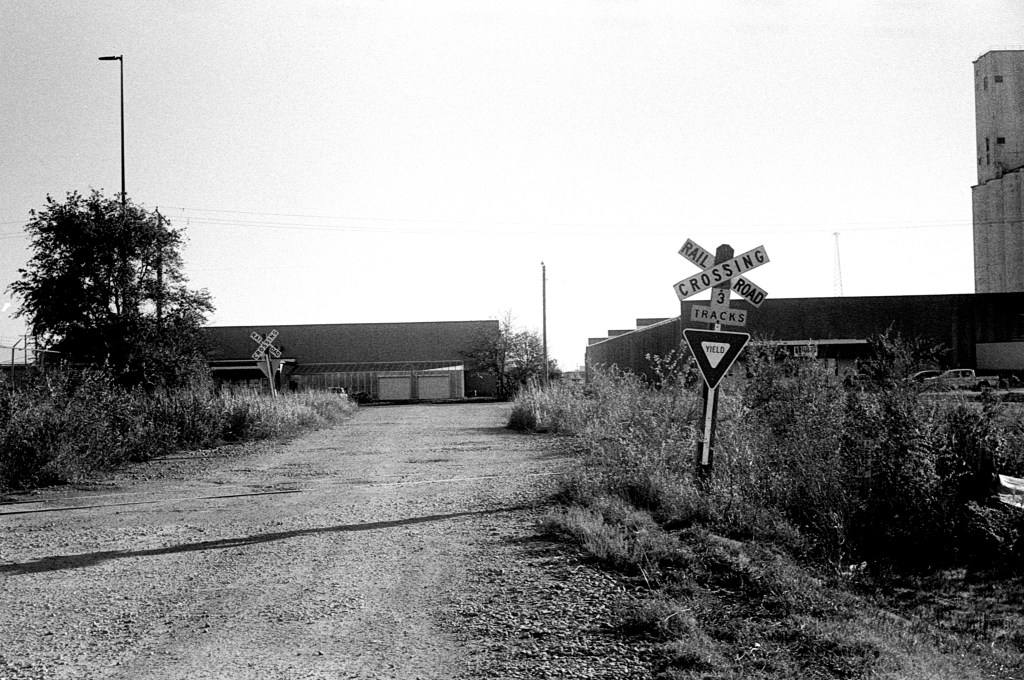
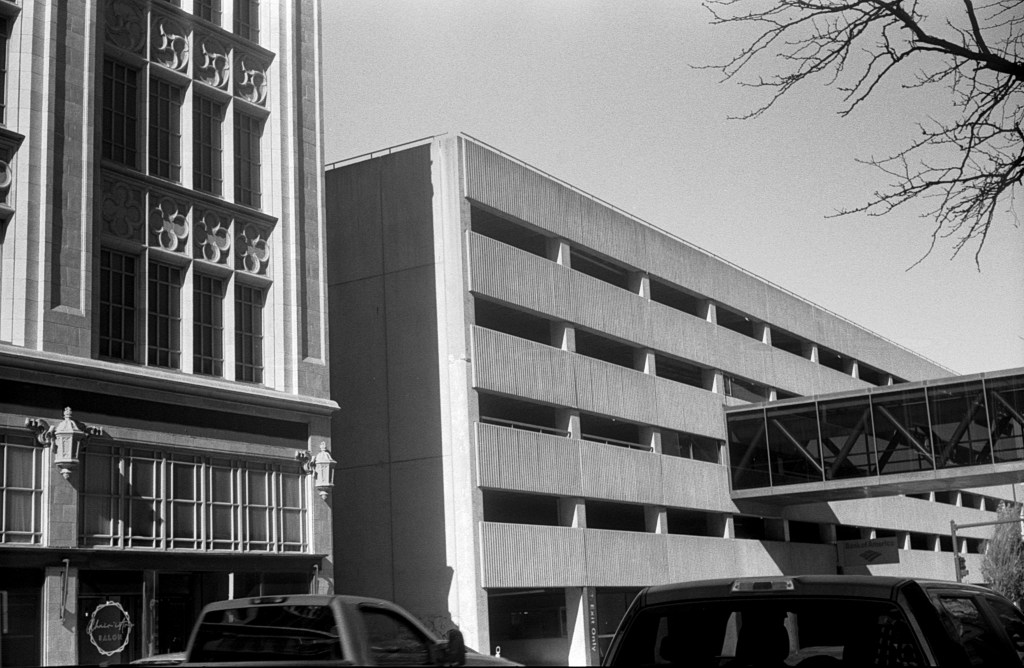
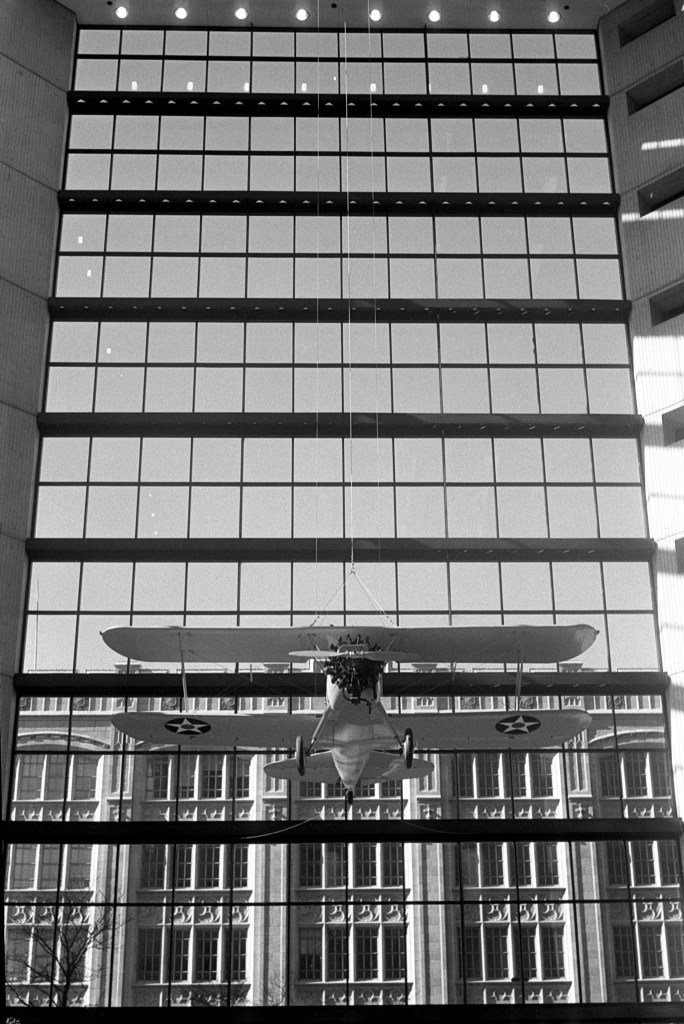
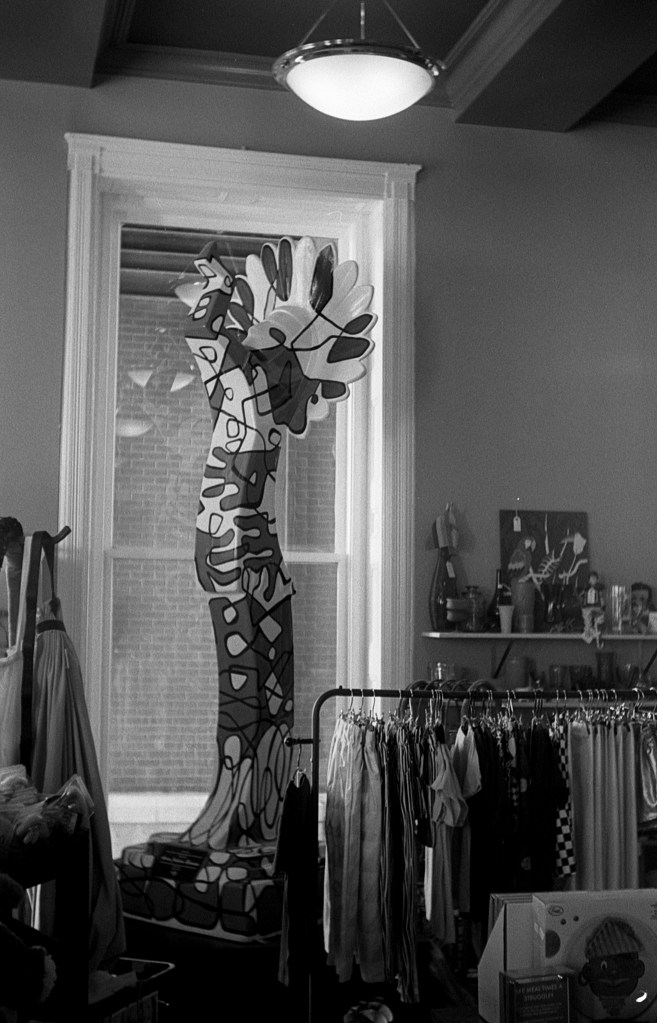
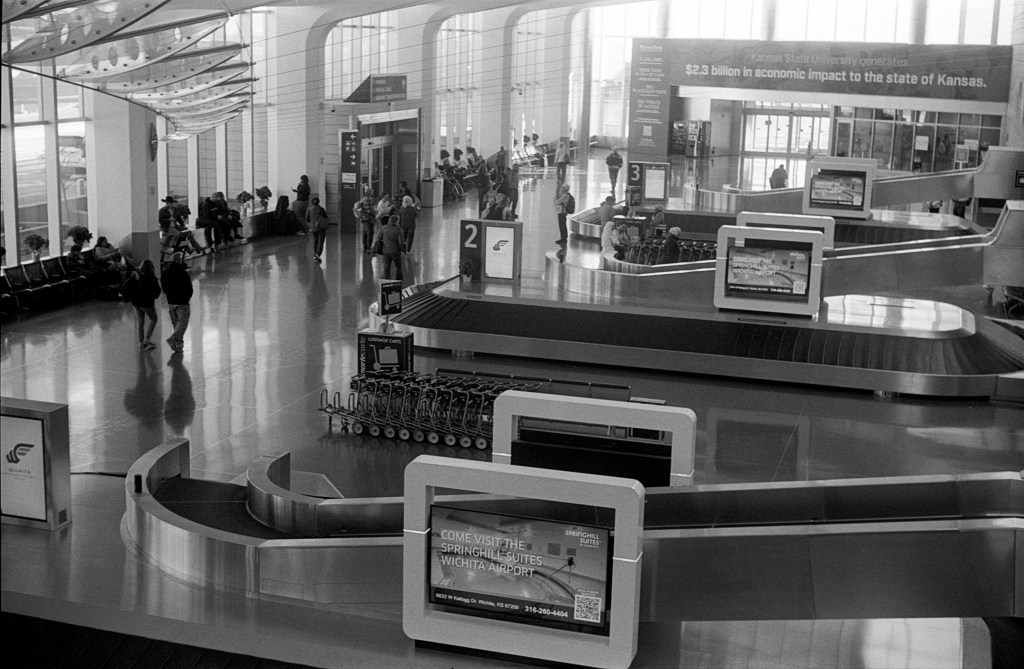
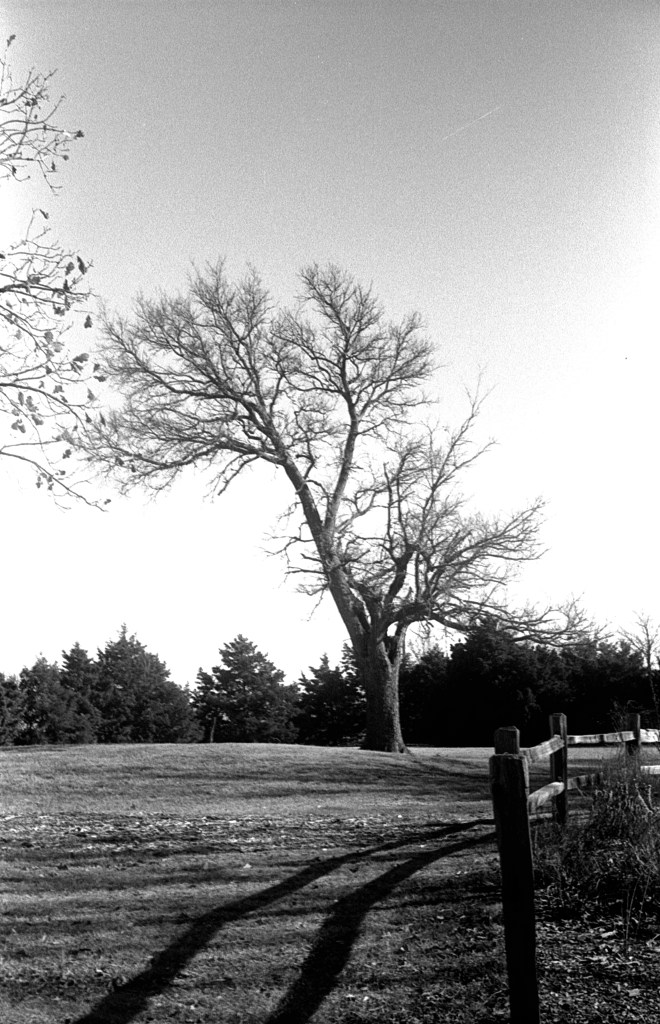
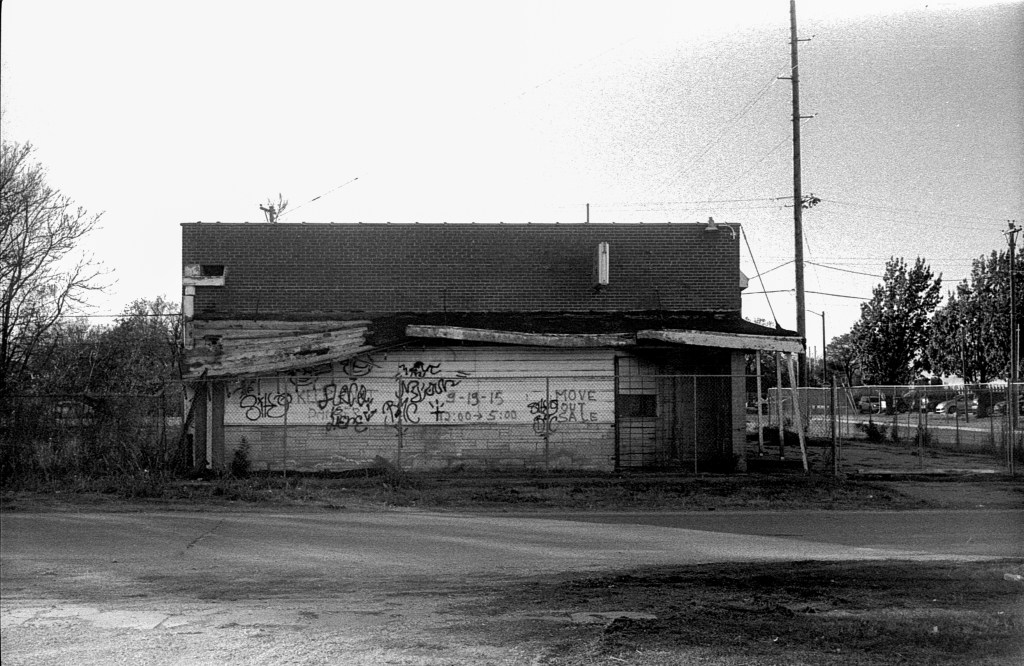
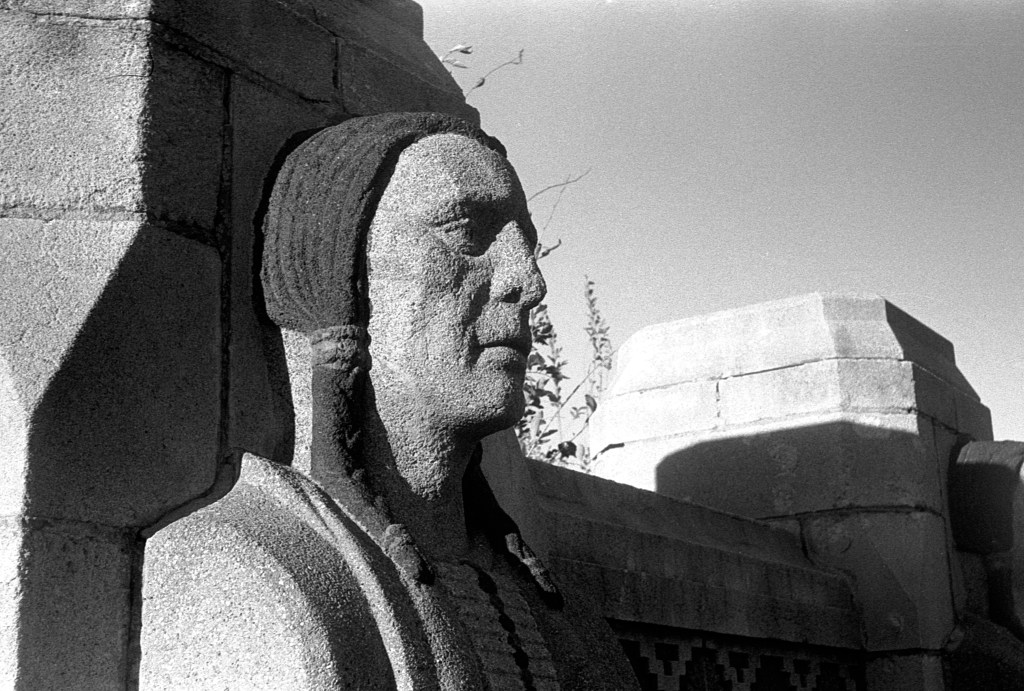
I took my Brick out and about after loading it with a roll of Ilford HP5+ 400 B&W. I rated it at box speed. I shot both indoors and out. I developed the film in Kodak D-76 1:1 for 13 minutes at 68 degrees.
When I went to cut the negatives, there was scant room between frames…barely enough room to make my cuts without taking off a sliver of a frame. And because of the right to left feeding through the camera, the negatives were in reverse order than I’m used to. Once put in a sleeve, I had to “read” the negatives right to left instead of the usual left to right.
Upon scanning them, they were pretty flat. Not much contrast to speak of. But in learning about scanning negatives, I’ve read recently that this gives you more data to work with in post. I think the scans turned out pretty well.


Leave a comment